Monday, March 28, 2016

Pressed Flower Phone Cases!

Just googling around I happened upon these beautiful I-Phone cases! Aren't they lovely? I'm just going to share a few of my favorites...

This one is from House of Bling


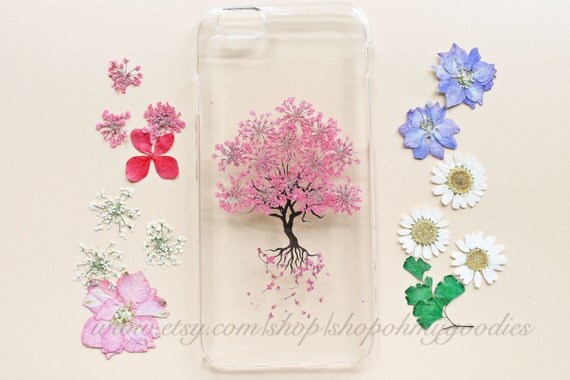
This is from ShopOhMyGoodies

iPhone 6 Case, iPhone 6s Case, iPhone 5 Case, Samsung Galaxy S6 Case, S4 Case, 6s Plus Case, 6 Plus Case, Clear Pressed Flower Case Tree

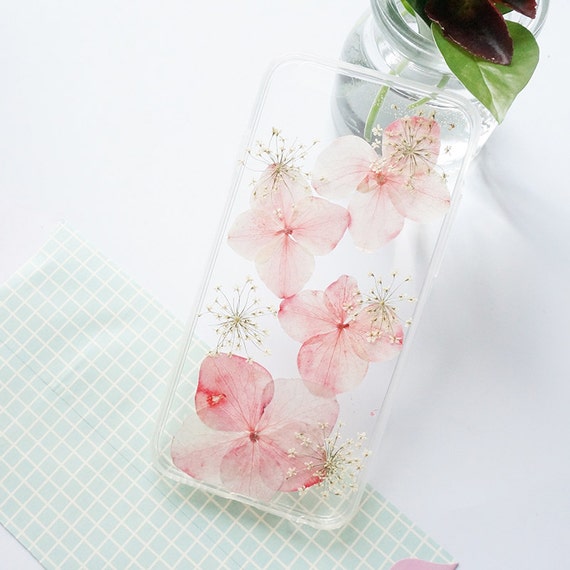
And this is from MattFlowerShop
iphone 6 case, pressed flower iphone 6s case, real flower iphone 6 plus case, natural flower iphone 6s plus case, RF01

Thursday, January 14, 2016

DIY Shadow Box/Frame

mini shadow box i made with scrapbooking paper:
I used scrap-booking paper that had a pattern on both sides to make this one to house a little brass Buddha.


I made this one from card stock to frame an ATC.


Here is how I made the frame for the ATC: 

I cut a piece of card stock down to 5" x 6"

I make 4 score lines, 1/4" apart on each side. On the long side I cut the edges flush with the innermost scored line of the short sides. As for the short sides: the innermost 1/4" gets cut flush with the score line of the long side; the next 1/4" gets cut at an angle; the next two 1/4" sections get cut up from the angle, taking 1/4" off. 


This is what you end up with! Have fun and feel free to contact me with any questions!

Friday, January 1, 2016

Loopdedoo: Thread Wrapped Bracelets

Loopdedoo Spinning Loom Kit, , hi-res


Loopdedoo


I picked this up at Jo Anne's with a 40% off coupon and I am pleasantly surprised at how fun and easy it is to use.


Check out some of the bracelets I made with it! I decided to make matching buttons from polymer clay for clasps.

Set of 3 Thread Wrapped Bracelets


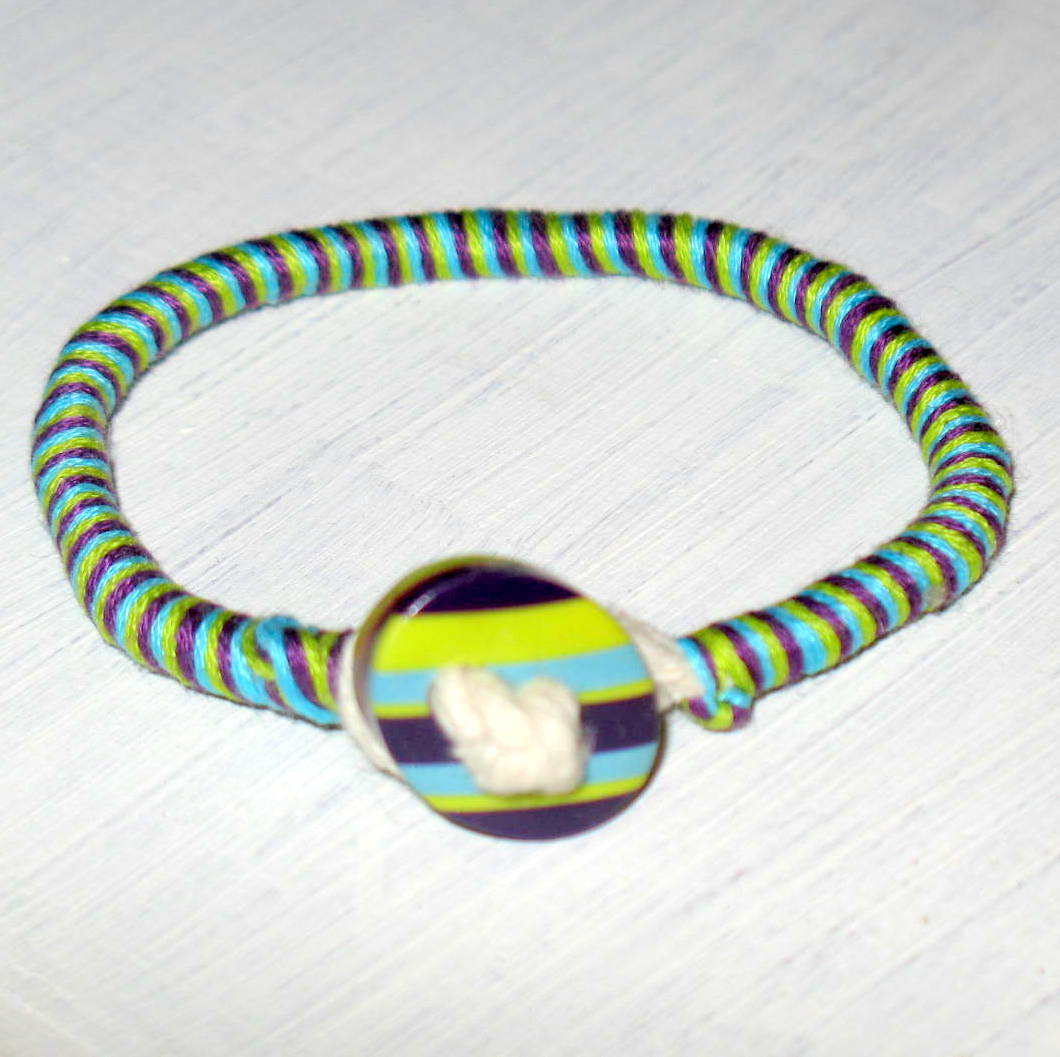
Blue, Chartruese, and Purple Thread Wrap Bracelet 
Blue, Green, and Brown Thread Wrap Bracelet

Purple Ombre Striped Thread Wrapped Bracelet


Sunday, May 17, 2015

DIY clear pocket for art journal

Want to add a little clear pocket to an art journal page to maybe put dried flowers in or a ticket stub?
I use a sheet of transparency paper, a metal ruler and my solder iron. Fold a sheet in half or use two sheets and heat up your iron. If you want a square or rectangle grab a metal ruler and slowly run your iron along the ruler. You want to make sure it melts through both layers to get a good seal and clean edge. You can make a pocket any shape though just free hand it with the solder iron!


Monday, March 30, 2015

DIY craft storage project

 I previously posted this toilet paper roll upcycle into storage project 
and I've been loving them but I wanted something similar to put my ink bottles in so I  came up with this
I used an oatmeal container and some cardboard
I cut the bottom off and in half


I took a piece of cardboard and cut it so that I could add strength to the bottom and make the back wall

I scored it and folded it and then glued it to the bottom

I ran some packing tape all around the inside to attach the back wall part but also to protect the cardboard in case the ink bottles leak and then ran it around the outside for additional strength. I made the back wall a bit taller than the rim of the container


Wednesday, March 11, 2015

Sharing a Polymer Clay Technique: Shimmering Watercolor

I was playing around with image transfer techniques and finally found a printer that spit out copies that I could lay onto raw clay, burnish well, leave sit for about 10 minutes, pull off and done! Yes, done, didn't have to bake it or use any kinda medium or special paper. Of course that printer is at my old job. Now what am I going to do?
Anyway, I made these


This one is on white clay, doesn't the mica in the pearl clay make all the difference?


Step one:
 Find image (or draw a pattern and scan)  and print out on regular computer paper with a black and white laser printer, then make a copy of that on a copy machine. 

*I try to use as many different printers and copiers as I can (whenever I get the chance I print out images) to increase the odds that I'll have at least one that makes a successful transfer. It's so disappointing to sit down to my clay only to find that the image is no good- it happened while I was taking pics for this tutorial! *It helps to increase the contrast, make the lines of the image as dark as possible. The more ink the machine lays down the more for the clay to pick up.  *I googled "free clip art paisley" and got this, you want just a line drawing 


Step two:
Roll pearl clay into a sheet, whatever thickness you want, lay your image on the clay and burnish well. Leave it to sit, burnishing again, leave sit, burnish again...- between 5 and 10 minutes total. 

*This is really going to depend on your image, the toner, the paper. So keep your eye on it, lift up the corner and see where you're at. Leave it too long and the clay will come up instead of the ink going down (which would be etching not image transferring!). 


Step three:
Reveal your image transfer! (These are on white not pearl clay, sorry).


Step four:
Cut, form, shape your clay into whatever and pop it in the oven.

Step five:
once it's cool, color in your image! 

*I use Blick studio markers, Copic or Pantone markers to color in the image because I want it to be like water color and have the shimmer of the mica in the pearl clay come through. on the white pieces I use a tiny paint brush and acrylic paint sometimes for opaque color. 


Step six:
pop it back in the oven for a few minutes to set the ink then seal 

*I like Future Floor Wax which I also heat set


That's it! Please feel free to ask me any questions.