Showing posts with label project. Show all posts

Wednesday, March 11, 2015

Sharing a Polymer Clay Technique: Shimmering Watercolor

I was playing around with image transfer techniques and finally found a printer that spit out copies that I could lay onto raw clay, burnish well, leave sit for about 10 minutes, pull off and done! Yes, done, didn't have to bake it or use any kinda medium or special paper. Of course that printer is at my old job. Now what am I going to do?
Anyway, I made these


This one is on white clay, doesn't the mica in the pearl clay make all the difference?


Step one:
 Find image (or draw a pattern and scan)  and print out on regular computer paper with a black and white laser printer, then make a copy of that on a copy machine. 

*I try to use as many different printers and copiers as I can (whenever I get the chance I print out images) to increase the odds that I'll have at least one that makes a successful transfer. It's so disappointing to sit down to my clay only to find that the image is no good- it happened while I was taking pics for this tutorial! *It helps to increase the contrast, make the lines of the image as dark as possible. The more ink the machine lays down the more for the clay to pick up.  *I googled "free clip art paisley" and got this, you want just a line drawing 


Step two:
Roll pearl clay into a sheet, whatever thickness you want, lay your image on the clay and burnish well. Leave it to sit, burnishing again, leave sit, burnish again...- between 5 and 10 minutes total. 

*This is really going to depend on your image, the toner, the paper. So keep your eye on it, lift up the corner and see where you're at. Leave it too long and the clay will come up instead of the ink going down (which would be etching not image transferring!). 


Step three:
Reveal your image transfer! (These are on white not pearl clay, sorry).


Step four:
Cut, form, shape your clay into whatever and pop it in the oven.

Step five:
once it's cool, color in your image! 

*I use Blick studio markers, Copic or Pantone markers to color in the image because I want it to be like water color and have the shimmer of the mica in the pearl clay come through. on the white pieces I use a tiny paint brush and acrylic paint sometimes for opaque color. 


Step six:
pop it back in the oven for a few minutes to set the ink then seal 

*I like Future Floor Wax which I also heat set


That's it! Please feel free to ask me any questions. 


Saturday, January 31, 2015

DIY/Tutorial: Toilet Paper Roll Recycle for Craft Storage


I wanted more surface space on my polymer clay desk so I decided to put the tools that were in a broken coffee mug up on the wall in front of me. I think the solution I came up with turned out super cute and thought this would make a good blog post. So I made two more and took some step by step shots.

 This is what I used to make it....


  1. Toilet Paper Roll
  2. Scrap Cardboard
  3. Thumb Tacks
  4. Craft Knife
  5. Scissors
  6. Hot Glue Gun
  7. Decorative Paper (I used 3 sheets from the K&C Company "Sweet Nectar" Adhesive Mat Pad so I didn't need to use glue)


1)
I drew two lines about 1" apart on the tube then used the craft knife to score those lines- don't cut through. I use the score lines to kind of flatten the part that will go against the wall


2) I used some scrap cardboard to make the bottom. I traced the shape and cut outside the line to make sure it was big enough to cover the base. I used the hot glue to attach it and trimmed the extra with the scissors.


3) I covered the tube with the adhesive paper and then stuck two thumb tacks through the back so I could mount it on the wall.


Super quick and easy right? 


I did something similar with coffee containers for one of my other craft tables.

Tuesday, December 2, 2014

What to do with all those holiday cards? Make a secret keepsake box!

This project isn't my creation. I came across it years ago and I don't know who gets credit for it. I thought this would be a good project to share this time of year and I was intending to share a link to a tutorial for it with you but cant find one. So, I'm showing you  how I made mine. 

Materials: 10-20 cards in envelope
exact knife
glue
decorative paper
index card or other scratch paper to make a template

This is what we are making! 


this stack of cards disguises a little treasure or keepsake box!


\

the top card is a lid that covers the cavity inside!
step one: decide what dimensions you want the cavity to have then make a template for the size of the box.
step two: use the template to draw rectangles on each card, make sure to do some at an angle to add interest and make the stack more believable. Use an exacto knife to cut the rectangle out of each card.  
step three: stack the cards up, aligning them by the rectangular cut out and glue them to each other. I used about 15 cards, I stuffed a folded piece of paper in a few to make them thicker. You want to use as many cards as you need to make the box the depth you want.


Step four: line the inside of the cavity with decorative paper.
Step five: making the lid. Decide which card is going on the top.
You want to create a hinge from a piece of card stock so you can flip the lid open. I cut a slit into the top of the lid card and slid half of the hinge in it. The other half I tucked under the top of the box card.


does this help?

This is what you end up with!

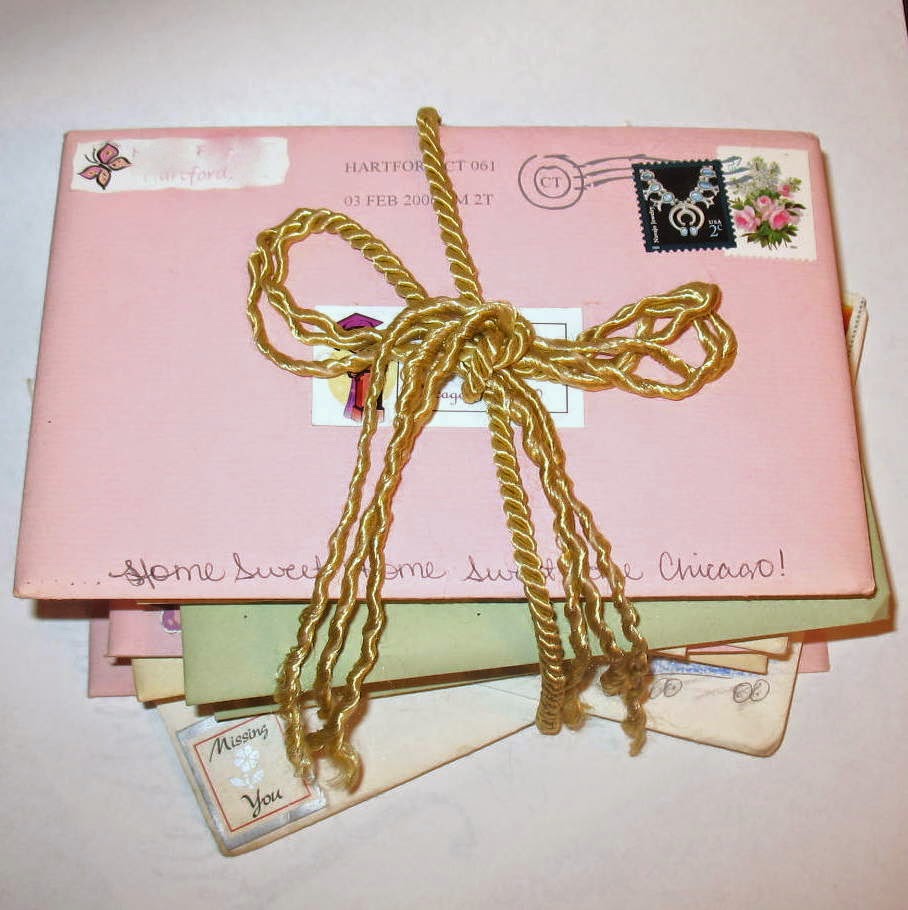
I added a ribbon to look like it's holding the stack of cards together.

Please feel free to ask any questions if something isn't clear.


Saturday, November 29, 2014

Okay. It's a new day. I'm going to attack this layout thing again and see if I can't get this blog to look like I want it to.
Anyway. That's only half the problem. The other half is what to post. How about sharing my works in progress? That will give you an idea of who I am. And please feel free to comment, I love feedback and it'll let me know someone is out there! 
I love working with all kinds of mediums, in the chaos of where I create I have a polymer clay station, a paper station, a metal station, and a beading station. I'm in the middle of a few different things... lets see...


At the Polymer Clay Station

I was working on a pendant but too much has gone wrong I think for me to salvage it. What do you think? First the liquid clay is lumpy. Second, when I added the first liquid clay layer I smeared the word "bloom" I had stamped in silver. I don't know if i didn't let it dry long enough, maybe I should have heat set it? I'll try again, unfortunately I don't have another image transfer of that- its my own photograph of a flower.


At the Beading Station
I'm working on this coin pearl necklace, it's going to have a toggle clasp that doubles as the focal.

At the Metal Station
I hate sawing but I managed to get these two pieces for a toggle clasp for the pearl necklace out of a sheet of brass, now I have to finish them. I've still got to sand them smooth and I'm thinking a hammered finish. 


At the Paper Station
I'm working on these snowflakes for a garland. I used my Cricut and white card stock.
At first I planned to use glitter but I hated the look so I'm going with silver embossing powder.

Now I've gotta add silver embossing powder to all the tips and then string them up!
Also at the Beading Station 
I've been on a mission to use up materials I already have and I was staring at my seed bead stash (I used to love to bead weave) and thought I'd tackle a project from this book again.

That covers the big ones. The only one that is for me is the tuffet box. The rest will end up on etsy.