Showing posts with label up-cycle. Show all posts

Saturday, January 31, 2015

DIY/Tutorial: Toilet Paper Roll Recycle for Craft Storage


I wanted more surface space on my polymer clay desk so I decided to put the tools that were in a broken coffee mug up on the wall in front of me. I think the solution I came up with turned out super cute and thought this would make a good blog post. So I made two more and took some step by step shots.

 This is what I used to make it....


  1. Toilet Paper Roll
  2. Scrap Cardboard
  3. Thumb Tacks
  4. Craft Knife
  5. Scissors
  6. Hot Glue Gun
  7. Decorative Paper (I used 3 sheets from the K&C Company "Sweet Nectar" Adhesive Mat Pad so I didn't need to use glue)


1)
I drew two lines about 1" apart on the tube then used the craft knife to score those lines- don't cut through. I use the score lines to kind of flatten the part that will go against the wall


2) I used some scrap cardboard to make the bottom. I traced the shape and cut outside the line to make sure it was big enough to cover the base. I used the hot glue to attach it and trimmed the extra with the scissors.


3) I covered the tube with the adhesive paper and then stuck two thumb tacks through the back so I could mount it on the wall.


Super quick and easy right? 


I did something similar with coffee containers for one of my other craft tables.

Tuesday, December 2, 2014

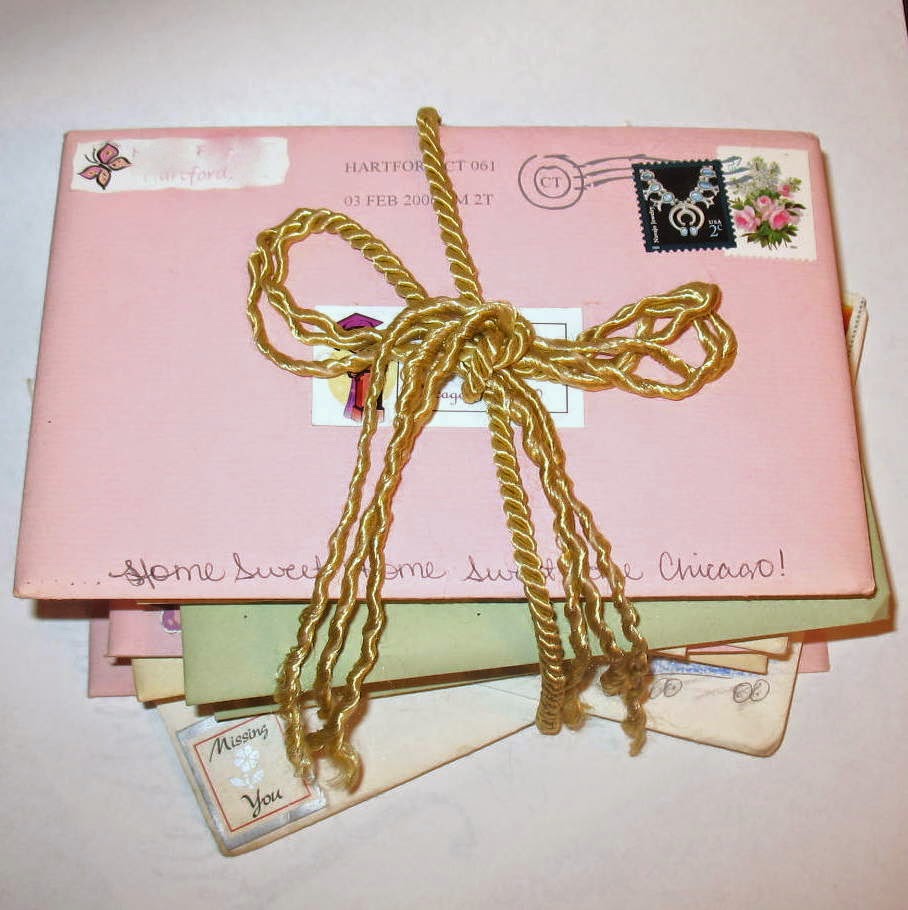
What to do with all those holiday cards? Make a secret keepsake box!

This project isn't my creation. I came across it years ago and I don't know who gets credit for it. I thought this would be a good project to share this time of year and I was intending to share a link to a tutorial for it with you but cant find one. So, I'm showing you  how I made mine. 

Materials: 10-20 cards in envelope
exact knife
glue
decorative paper
index card or other scratch paper to make a template

This is what we are making! 


this stack of cards disguises a little treasure or keepsake box!


\

the top card is a lid that covers the cavity inside!
step one: decide what dimensions you want the cavity to have then make a template for the size of the box.
step two: use the template to draw rectangles on each card, make sure to do some at an angle to add interest and make the stack more believable. Use an exacto knife to cut the rectangle out of each card.  
step three: stack the cards up, aligning them by the rectangular cut out and glue them to each other. I used about 15 cards, I stuffed a folded piece of paper in a few to make them thicker. You want to use as many cards as you need to make the box the depth you want.


Step four: line the inside of the cavity with decorative paper.
Step five: making the lid. Decide which card is going on the top.
You want to create a hinge from a piece of card stock so you can flip the lid open. I cut a slit into the top of the lid card and slid half of the hinge in it. The other half I tucked under the top of the box card.


does this help?

This is what you end up with!

I added a ribbon to look like it's holding the stack of cards together.

Please feel free to ask any questions if something isn't clear.