Monday, March 30, 2015

DIY craft storage project

 I previously posted this toilet paper roll upcycle into storage project 
and I've been loving them but I wanted something similar to put my ink bottles in so I  came up with this
I used an oatmeal container and some cardboard
I cut the bottom off and in half


I took a piece of cardboard and cut it so that I could add strength to the bottom and make the back wall

I scored it and folded it and then glued it to the bottom

I ran some packing tape all around the inside to attach the back wall part but also to protect the cardboard in case the ink bottles leak and then ran it around the outside for additional strength. I made the back wall a bit taller than the rim of the container


Wednesday, March 11, 2015

Sharing a Polymer Clay Technique: Shimmering Watercolor

I was playing around with image transfer techniques and finally found a printer that spit out copies that I could lay onto raw clay, burnish well, leave sit for about 10 minutes, pull off and done! Yes, done, didn't have to bake it or use any kinda medium or special paper. Of course that printer is at my old job. Now what am I going to do?
Anyway, I made these


This one is on white clay, doesn't the mica in the pearl clay make all the difference?


Step one:
 Find image (or draw a pattern and scan)  and print out on regular computer paper with a black and white laser printer, then make a copy of that on a copy machine. 

*I try to use as many different printers and copiers as I can (whenever I get the chance I print out images) to increase the odds that I'll have at least one that makes a successful transfer. It's so disappointing to sit down to my clay only to find that the image is no good- it happened while I was taking pics for this tutorial! *It helps to increase the contrast, make the lines of the image as dark as possible. The more ink the machine lays down the more for the clay to pick up.  *I googled "free clip art paisley" and got this, you want just a line drawing 


Step two:
Roll pearl clay into a sheet, whatever thickness you want, lay your image on the clay and burnish well. Leave it to sit, burnishing again, leave sit, burnish again...- between 5 and 10 minutes total. 

*This is really going to depend on your image, the toner, the paper. So keep your eye on it, lift up the corner and see where you're at. Leave it too long and the clay will come up instead of the ink going down (which would be etching not image transferring!). 


Step three:
Reveal your image transfer! (These are on white not pearl clay, sorry).


Step four:
Cut, form, shape your clay into whatever and pop it in the oven.

Step five:
once it's cool, color in your image! 

*I use Blick studio markers, Copic or Pantone markers to color in the image because I want it to be like water color and have the shimmer of the mica in the pearl clay come through. on the white pieces I use a tiny paint brush and acrylic paint sometimes for opaque color. 


Step six:
pop it back in the oven for a few minutes to set the ink then seal 

*I like Future Floor Wax which I also heat set


That's it! Please feel free to ask me any questions. 


Tuesday, March 10, 2015

Making Your Own Ball Tipped Silver Headpins

It's as simple as taking your silver wire and sticking the tip in the blue part of the flame of your torch until it melts into a ball the size you want then quench in cool water. But I kept getting lopsided balls, the wire always curled up to one side or another. Maybe I'm the only one who didn't know this but in case I'm not... So, use fine silver wire, .999 not sterling silver, .925.
the sterling silver balls up to the side, not to mention you still have to pickle and tumble them to get off the firescale and restore the shine

fine silver balls up nice and even and you don't have to take any additional steps, it stays nice and shiny!

Sunday, March 1, 2015

"Lost My Day Job" Chapter Four: Trying to Make it Work

In chapter two (http://colieart.blogspot.com/2015/02/lost-my-day-job-chapter-two-what-are.html), I identified some things that top shops were doing that I wasn't. I have made some changes to my shops hoping they will increase my sales. 
1) The first thing I noticed was that top shops carry very specific items. I've been slowly doing this since I opened my second shop but now I'm really getting it done, as I said in chapter two, I opened a 3rd shop. 
I had opened a second shop because my original shop was becoming a catch-all for everything I like to make. So I decided it made more sense to have that shop be strictly jewelry and to move my polymer clay beads, destash beads and supplies, and origami boxes to a 2nd shop.Soon enough that 2nd shop became a catch-all for everything I like to make besides jewelry. Thus my 3rd shop. I am in the process of making the 2nd shop strictly polymer clay beads (I haven't decided if I should or shouldn't continue to destash my craft books and beads) and moving my origami boxes to the 3rd shop. I also love making books so those are going in there. Things I make from paper and or fabric will go in the new shop.

   Check out my 3rd etsy shop! 

ColieArtBooksnBoxes


2) I have been working on my titles. But unless I figure out how to use the shop stats I won't be able to tell if that is helping or not. I'd appreciate any advice on how to do that.
I've been trying to copy the way top shops title their listings. For example the title for that box at the bottom right is "Pearl Pink Mosaic Mini Trinket Box, Small Round Handmade Polymer Clay  Box". The one on the right's title is  "Pink, Turquoise, White, and Lime Green Chevron Tall Origami Box, Fabric Origami Box, Chevron Print Tall Gift Box"
3) I am offering variations for listings. 
For example a customer can choose to have the necklace with a chain 16", 18", or 20" long, and the earrings with a hammered, brushed, or polished finish, and this pendant in blue, pink, or purple. 

Another way I'm trying to make it work is by using up all the materials I have in stock. Trying to work with only what I have on hand and not buying anything new used to be something I did as a challenge! Without income from a day job I have to do it that way. I found myself unable to pay my etsy bills because I had transferred all the money from pay pal to my bank account so I could eat the billing period before last. Sales were non existent and I only had enough money to keep one shop open. I kept my jewelry shop open and had to wait for a sale so I could pay the bill on my other shops. That can not happen again. 

Today I pulled out all my canes and scrap clay and started to make beads.
all my canes and loaves from my stash, some couldn't be saved because they were hard and crumbling

scrap clay container

I rolled the scrap clay into sheets which I then rolled into logs, ready to make beads with

Now I'll use those scrap clay logs to make beads by covering them with slices from canes or loaves or with a sheet in bead color I want. For example


So, turning scrap clay and forgotten canes into beautiful beads...stay tuned to see if I made it work!

update...
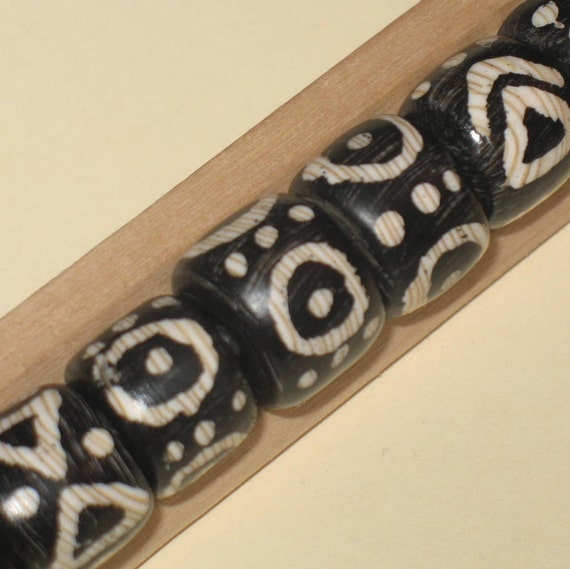
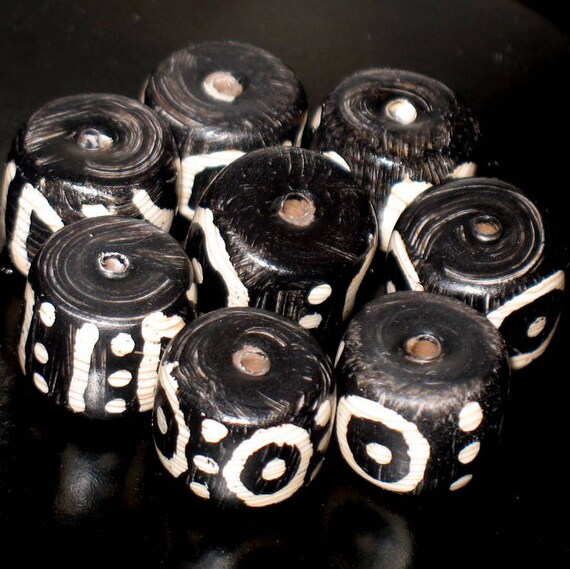
So those turned into these! Which sold within a few days! I love them so much I want to make more. I don't usually recreate designs but...and it kinda defeats the point because now I have to make a new cane instead of using up old ones...
Black and Ivory Kente Cloth Inspired Beads, Batik Drum Beads, Handmade Polymer Clay Beads in Black and White